Accessing Your Raspberry Pi Remotely: A Comprehensive Guide
Can you truly harness the power of your Raspberry Pi from anywhere in the world? The answer is a resounding yes, and unlocking this capability opens up a universe of possibilities for both personal and professional endeavors.
The ability to remotely access and control your Raspberry Pi can transform it from a local project into a versatile tool, accessible wherever you have an internet connection. Whether you're a hobbyist tinkering with home automation, a developer needing to monitor a remote server, or simply someone who wants to access their files from afar, the potential is vast. This guide aims to demystify the process, providing you with the knowledge to connect to your Raspberry Pi, regardless of your physical location. The journey begins with understanding the fundamental building blocks that enable this remote connectivity.
Before delving into the methods, let's address the core question: Why would one want to access a Raspberry Pi remotely? The benefits are numerous and can be broadly categorized:
- Monitoring and Management: Keep tabs on your Pi's performance, resource usage, and running processes. This is invaluable for servers or projects running unattended.
- File Access: Retrieve, upload, and manage files stored on your Pi, essentially creating a personal cloud storage accessible from anywhere.
- Remote Control: Control connected devices or applications through your Pi, perfect for home automation projects.
- Troubleshooting: Remotely diagnose and fix issues with your Pi without physically being present.
- Project Development: Work on projects hosted on your Pi from any location, streamlining your workflow.
To achieve this remote access, several components are necessary. These include the Raspberry Pi itself, an internet connection for the Pi, a method for accessing the Pi remotely (such as SSH, VNC, or a web-based interface), and, critically, an understanding of network configuration. We will explore several methods to do so.
| Feature | Details |
|---|---|
| Raspberry Pi | A single-board computer acting as the central hub. Models 3B+ and 4 are recommended for performance. |
| Operating System | Typically, a Linux distribution like Raspberry Pi OS (formerly Raspbian). |
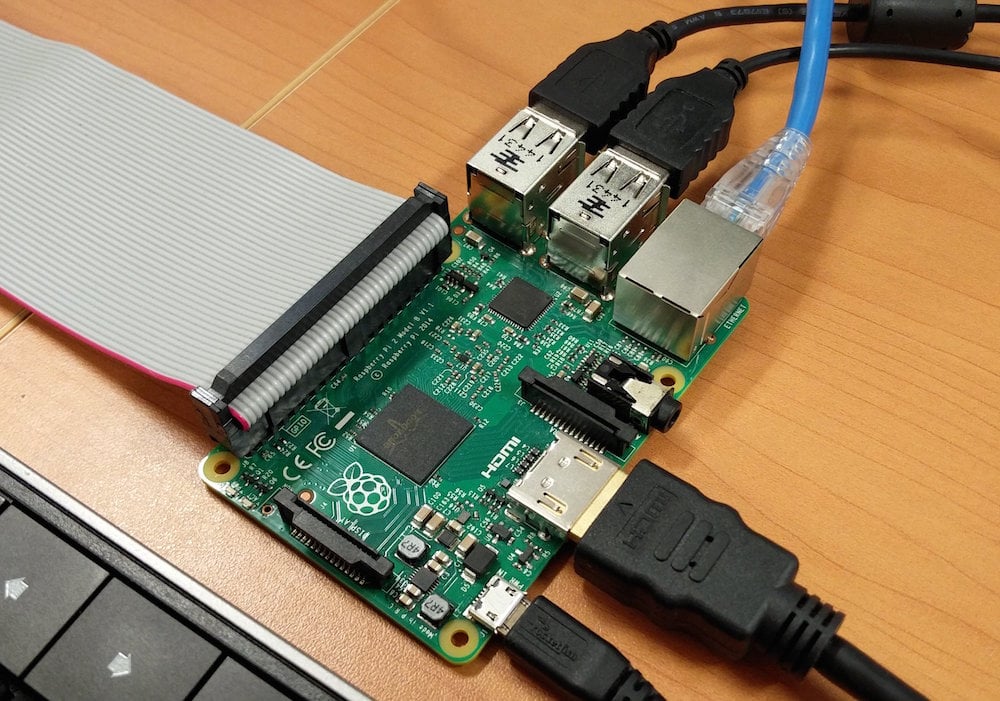
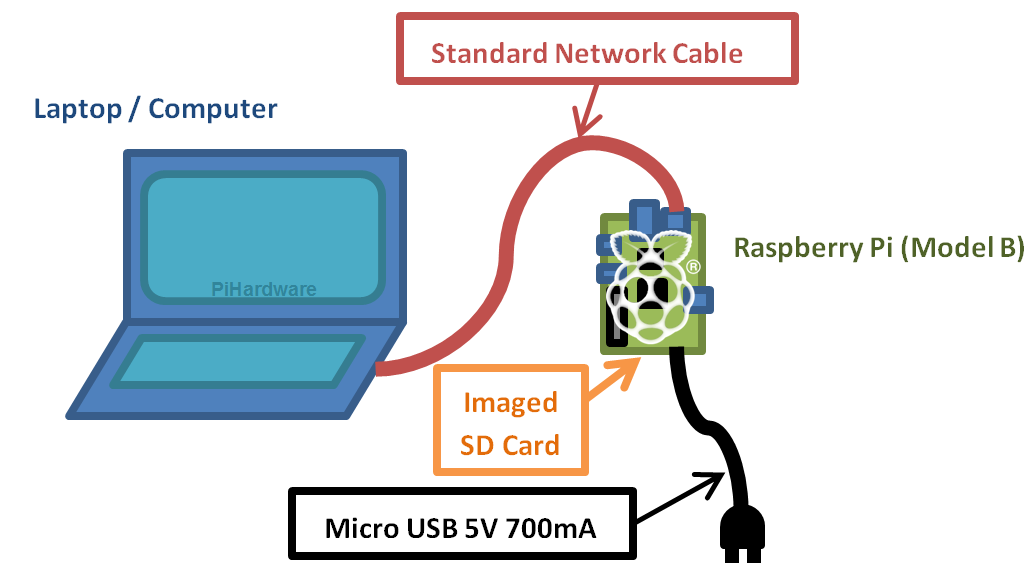
| Internet Connection | Essential for remote access. An Ethernet connection is preferred for stability and speed. |
| Remote Access Method | This is the key aspect. Options include:
|
| Router | Your router is the gateway to your network. Port forwarding configuration will be needed. |
| Static IP (Recommended) | Assigning a static IP address to your Pi simplifies the process. |
| Port Forwarding (Often required) | Configuring your router to forward external requests to your Pi. |
One of the most common and straightforward methods is using SSH (Secure Shell). SSH provides a secure, encrypted connection to your Pi, allowing you to execute commands, transfer files, and manage the system remotely. Before you proceed, you should change the default password for security reasons, as the default is "raspberry." This is a fundamental step in securing your Pi.
If you prefer a graphical interface, VNC (Virtual Network Computing) is an excellent option. VNC allows you to see and interact with your Pi's desktop from your remote device. Setting up VNC typically involves installing a VNC server on your Pi and a VNC client on your remote device. This allows you to interact with the Pi as if you were sitting in front of it.
| Method | Description | Pros | Cons |
|---|---|---|---|
| SSH (Secure Shell) | Command-line access for managing the Pi. | Secure, lightweight, versatile for executing commands and transferring files. | Requires comfort with the command line; not ideal for graphical applications. |
| VNC (Virtual Network Computing) | Provides a graphical desktop interface. | User-friendly for graphical applications; easy to set up. | Can be resource-intensive; less secure if not properly configured. |
| Ngrok | Creates secure tunnels for accessing your Pi. | Easy to set up; bypasses the need for complex port forwarding. | Limited free usage; requires an internet connection. |
| VPN (Virtual Private Network) | Creates a secure network connection to your home network. | Highest level of security; allows access to all network resources. | Requires more setup and configuration; some performance overhead. |
To access your Raspberry Pi from outside your local network, the crucial step is setting up port forwarding on your router. This process allows incoming traffic from the internet to be directed to your Raspberry Pi. Access your router's admin panel by entering its IP address in a web browser. Locate the port forwarding section. You'll typically need to specify the port you want to forward (e.g., 22 for SSH, 5900 for VNC), the protocol (TCP or UDP), and the internal IP address of your Raspberry Pi. This might seem a bit complicated at first, but it's a fundamental part of making remote access possible.
Another approach involves using a VPN (Virtual Private Network). A VPN creates a secure, encrypted connection between your remote device and your home network. This is an excellent way to access all resources on your network securely. While VPNs offer a robust security layer, they require a bit more initial configuration.
One tool that simplifies the process is ngrok. Ngrok is a tool that creates a secure tunnel to your Raspberry Pi, making it accessible from the internet without the need to configure port forwarding directly. It requires minimal setup, a few commands in the terminal, and is known for its reliability. The default password for a Raspberry Pi is "raspberry", but changing this is crucial for security.
Consider a scenario where you have a NAS server set up on your Raspberry Pi, perhaps using an external hard drive. You want to access your files from outside your home network. With a well-configured setup, including port forwarding or ngrok, this becomes achievable. You will also want to set up a static IP address.
Let's break down the steps further, including the necessary configuration for SSH.
- Configure SSH on your Raspberry Pi: Make sure SSH is enabled. You can do this using the Raspberry Pi Configuration Tool or by using `sudo raspi-config` in the terminal.
- Find your Raspberry Pi's local IP address: You can find this using the `ifconfig` or `ip addr` commands in the terminal. Note the address, e.g., 192.168.1.100.
- Set up port forwarding on your router: This involves logging into your router's admin panel and forwarding the default SSH port (22) to your Pi's local IP address. This ensures that any connection requests to your public IP address on port 22 are directed to your Raspberry Pi.
- Connect from an external network: Use an SSH client (like PuTTY on Windows or the `ssh` command in Linux/macOS) to connect to your public IP address. You should be prompted for your username and password.
If you're still in the early stages of configuring your Raspberry Pi, you'll want to change the default password immediately. It is also very important to keep the Raspberry Pi's operating system and any installed software up to date. This ensures the security of the system against known vulnerabilities.
For those seeking a more user-friendly experience, remote desktop software like RealVNC offers a cloud-based solution. RealVNC allows you to access your Pi even without direct access to the firewall or port settings. You can set up a free account with RealVNC (which will permit up to 5 computers via the cloud). This is an excellent choice for users looking for a straightforward way to access their Pi. If you don't want to open a remote display port on your public interface, a VPN is a good solution.
Let's say you've deployed Nextcloud on your Raspberry Pi, which sits on your local network. Accessing it from outside your home network requires more configuration and effort. You'll be dealing with port forwarding and dynamic IPs. Ngrok simplifies the process and avoids these complicated configurations.
Its worth noting that accessing your Raspberry Pi from outside your home network is not always easy, especially if your home network has a dynamic IP address. A dynamic IP address changes periodically, meaning the IP address you use to connect to your Pi may change. In this case, services like a dynamic DNS (DDNS) can help. They provide a hostname (e.g., mypi.example.com) that always points to your current IP address, even if it changes.
In some cases, your internet service provider (ISP) might assign you an IP address in the private IP range (10.x.x.x). This will make accessing your Raspberry Pi from outside your network extremely challenging, as this means you don't have a public IP address. If this is the case, you will need to speak to your ISP about getting a public IP address.
The process involves a combination of software configuration and router settings. The most important step in achieving external access is to configure port forwarding on your router. This tells your router to forward any incoming traffic on a specific port (such as port 22 for SSH or port 5900 for VNC) to the internal IP address of your Raspberry Pi. The configuration process varies depending on the make and model of your router, but the general principle is the same.
Connecting to your Raspberry Pi remotely can open up a world of possibilities. It allows you to monitor your Pi's performance, access files, run programs, and more. Setting up remote access requires understanding the basics of network configuration and remote connectivity. You will also need to deal with security considerations.
Consider the Raspberry Pi Pico W, for example. With HTML code, you can control its LEDs using buttons from a computer on your local network. To extend that control to the internet, you need to make the Pico W accessible remotely. This is where the methods discussed earlier come into play.
The combination of the Raspberry Pi's compact size and affordability makes it a versatile platform. Understanding remote access greatly expands these capabilities. With the right configuration and security precautions, you can unlock your Pi's full potential and access its capabilities wherever you are.
Remember, if you are trying to access from a different network, you may need to set up port forwarding on your router.
Here's a table summarizing common problems and solutions related to accessing a Raspberry Pi remotely:
| Problem | Possible Causes | Solutions |
|---|---|---|
| Unable to connect to Raspberry Pi from outside the local network |
|
|
| SSH connection refused |
|
|
| VNC connection fails |
|
|
| Website (e.g., a web interface on your Pi) is not accessible |
|
|
| Dynamic IP address changes and breaks connectivity |
|
|
The article provides a comprehensive overview of enabling remote access to a Raspberry Pi. It underscores the importance of network configuration, security measures, and various tools.

