Raspberry Pi Remote Access: Guide To Connecting Outside Your Network
Can you truly harness the power of your Raspberry Pi from anywhere in the world? The answer is a resounding yes, with the right configuration, you can unlock remote access and control of your Raspberry Pi, turning it into a versatile tool that you can access regardless of your location.
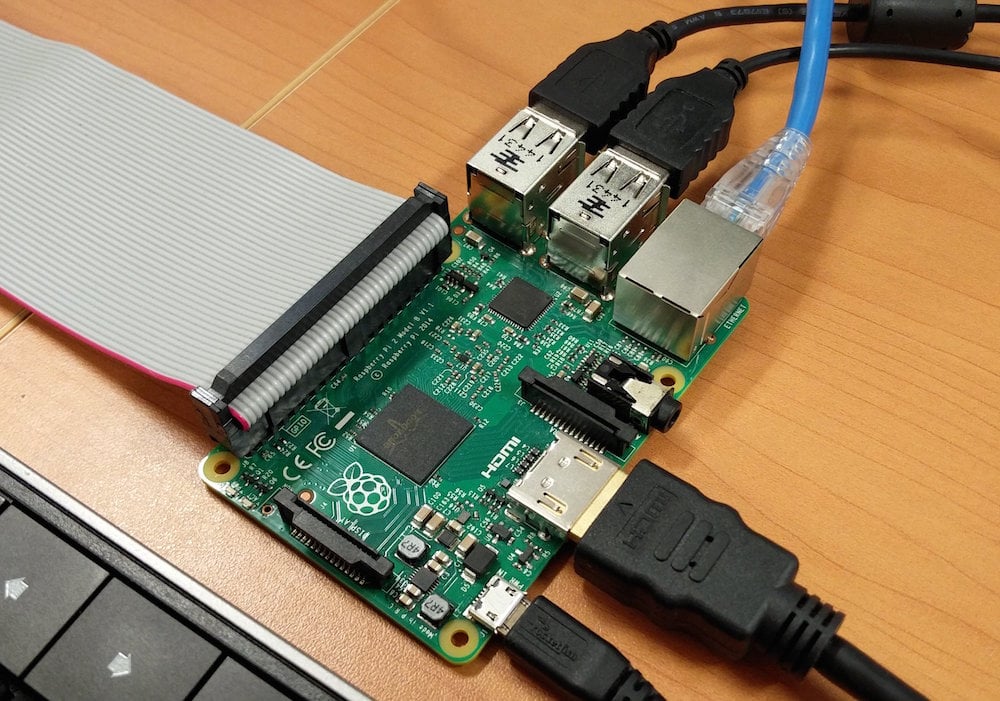
The Raspberry Pi, a marvel of miniaturization and affordability, has captivated hobbyists, educators, and professionals alike. Its compact size and open-source nature belie its immense capabilities. From serving as a media center to powering intricate robotics projects, the Pi has proven its versatility time and again. But its true potential extends beyond the confines of your local network. The ability to access and control your Raspberry Pi remotely opens up a world of possibilities, allowing you to monitor, manage, and interact with your projects from anywhere with an internet connection.
This article delves into the various methods of achieving remote access to your Raspberry Pi, breaking down the process into easy-to-follow steps. Whether you're a seasoned tech enthusiast or a curious beginner, this guide will equip you with the knowledge to unlock the full potential of your Pi.
Understanding the Need for Remote Access
Before diving into the technical aspects, let's explore the compelling reasons why you might want to connect to your Pi remotely. The advantages are numerous and often compelling:
- Monitoring and Control: Remotely monitor sensors, control devices connected to your Pi, or check the status of your projects.
- Data Access: Access files, data, and media stored on your Pi from anywhere in the world. This is particularly useful for NAS (Network Attached Storage) setups.
- Troubleshooting: Troubleshoot issues and perform maintenance tasks on your Pi without being physically present.
- Automation: Initiate and manage automated tasks, such as controlling home automation systems, remotely.
- Education and Experimentation: Access and control your Pi for educational purposes or to experiment with different software and configurations.
Now, let's discuss the core methods to achieve remote access.
Methods for Remote Access
The path to remote access typically involves several key strategies. Here's a breakdown of popular approaches, each with its own advantages and considerations:
1. SSH (Secure Shell)
SSH is the cornerstone of secure remote access. It provides a secure, encrypted connection to your Raspberry Pi, allowing you to execute commands, transfer files, and manage your system as if you were sitting in front of it. Setting up SSH is usually straightforward, and it's a fundamental skill for any Raspberry Pi user.
Here's what you need to do to remotely access your Raspberry Pi from outside your local network using SSH:
- Enable SSH: Ensure SSH is enabled on your Raspberry Pi. This is typically enabled by default, but you can verify it in the Raspberry Pi configuration tool (raspi-config).
- Port Forwarding: This is a critical step. You'll need to configure your router to forward traffic on port 22 (the default SSH port) to the internal IP address of your Raspberry Pi.
- External IP Address: You'll need your router's external IP address. This is the public IP address assigned to your home network by your internet service provider (ISP).
- Connecting via SSH: From a device outside your local network, use an SSH client (like PuTTY on Windows or the built-in terminal on macOS and Linux) to connect to your public IP address on port 22 (or the port you've configured). The command is typically:
ssh pi@your_public_ip
Note: For enhanced security, always change the default password for the 'pi' user and consider using SSH keys for authentication instead of passwords.
2. Cloudflare Tunnel
Cloudflare Tunnel offers a secure and often simpler way to access your Raspberry Pi remotely, especially if you're behind a firewall or your ISP doesn't provide a static IP address. It creates an outbound connection from your Raspberry Pi to Cloudflare's network, allowing you to access your Pi through Cloudflare's servers.
Here's a guide to set up a Cloudflare Tunnel:
- Sign Up for Cloudflare: Create a free account on Cloudflare.
- Add Your Domain (Optional): If you have a domain name, add it to Cloudflare. If not, you can use a subdomain provided by Cloudflare.
- Install cloudflared: Install the
cloudflareddaemon on your Raspberry Pi. This can be done using package managers like `apt`. - Authenticate cloudflared: Authenticate the
cloudflareddaemon with your Cloudflare account using the command line. - Create a Tunnel: Create a tunnel using the Cloudflare dashboard or the command line, specifying the service you want to expose (e.g., SSH, web server).
- Configure DNS Records: If you're using your own domain, create DNS records to point to your Cloudflare tunnel.
- Access Your Pi: Access your Pi via the domain or subdomain you've configured. Cloudflare handles the routing and security.
3. VPN (Virtual Private Network)
A VPN creates an encrypted connection between your device and your home network, effectively placing you on the same network as your Raspberry Pi. This is a highly secure method, but it requires setting up a VPN server on your home network (potentially on a separate device or even on your Raspberry Pi itself, although performance might be limited) and installing a VPN client on the devices you want to use to connect.
Heres how to set up a VPN:
- Choose a VPN Server: You have a few options here. You can run a VPN server on another device, such as a VPS (Virtual Private Server), to get around issues of dynamic IP addresses. Or, you can set up a VPN server directly on your Raspberry Pi (e.g., using OpenVPN or WireGuard).
- Install and Configure the Server: Install and configure the VPN server software on your chosen device. This typically involves generating certificates, setting up user accounts, and configuring network settings.
- Configure Port Forwarding: You'll need to forward the VPN server's port (usually UDP 1194 for OpenVPN) on your router.
- Install a VPN Client: Install a VPN client on the devices you'll be using to connect (laptops, smartphones, etc.).
- Connect to the VPN: Connect to your VPN server using your VPN client, providing your credentials. Once connected, your device will be on the same network as your Raspberry Pi, allowing you to access it as if you were locally connected.
4. Remote Desktop (VNC, etc.)
If you need to interact with your Raspberry Pi's graphical desktop environment, remote desktop solutions are essential. VNC (Virtual Network Computing) is a popular choice, allowing you to view and control your Raspberry Pi's desktop from a remote location.
Here's how to set up VNC:
- Install a VNC Server: Install a VNC server on your Raspberry Pi. TightVNC, RealVNC, and TigerVNC are common choices.
- Configure the VNC Server: Configure the VNC server, setting a password for access.
- Port Forwarding: Forward the VNC server's port (typically 5900 for the first display) on your router.
- Install a VNC Viewer: Install a VNC viewer on your remote device.
- Connect: Connect to your Raspberry Pi by entering its public IP address and the port you've forwarded (e.g.,
your_public_ip:5900) in your VNC viewer.
Note: The default password for a Raspberry Pi is raspberry, but you should change it asap for security reasons.
5. Raspberry Pi Connect
Raspberry Pi Connect is a free screen sharing and remote shell service provided by the Raspberry Pi Foundation. It simplifies the remote access process, making it accessible to users of all skill levels.
- Create a Raspberry Pi Account: Sign up for a Raspberry Pi account if you don't already have one.
- Install and Configure the Connect Agent: Install the Raspberry Pi Connect agent on your Raspberry Pi. Follow the on-screen instructions.
- Access Your Pi: Access your Raspberry Pi remotely through the Raspberry Pi Connect website or app, using your Raspberry Pi account credentials.
Note: The service is very useful for remote access, its a great platform to use when you want to start, and good for beginners.
Setting up a NAS Server
One of the most practical applications of a Raspberry Pi is as a Network Attached Storage (NAS) server. A NAS server allows you to store and share files across your network and, with remote access, from anywhere in the world.
Here's how to set up a basic NAS server:
- Components: You need a Raspberry Pi (3B+ or 4), an external hard drive (preferably an SSD for better performance), and a power supply.
- Format the Drive: Format your external hard drive with a file system that supports large files and permissions (e.g., ext4 or NTFS).
- Connect the Drive: Connect the external hard drive to your Raspberry Pi.
- Install Samba: Install Samba, a file-sharing protocol, on your Raspberry Pi. This will allow you to share files over your network.
- Configure Samba: Configure Samba to share the external hard drive's contents. Set up user accounts and permissions.
- Port Forwarding (for Remote Access): If you want to access your NAS server remotely, you'll need to set up port forwarding on your router for the Samba port (usually TCP 445). Cloudflare Tunnel is also a very good option here.
- Access Your NAS: Access your NAS server from other devices on your network or remotely using file explorer or a dedicated NAS client.
Troubleshooting and Security
Remote access involves a few common challenges, which include:
- Port Forwarding Issues: Ensure your router's port forwarding is correctly configured. Double-check the port numbers, internal IP address, and protocol (TCP/UDP).
- Firewall Restrictions: Your firewall may be blocking incoming connections. Ensure your firewall is configured to allow traffic on the necessary ports.
- Dynamic IP Address: If your ISP assigns you a dynamic IP address, your public IP address will change periodically. Use a dynamic DNS service to update your domain name with your current IP address. Cloudflare Tunnel is a solution for those with dynamic IP address.
- Security Concerns:
- Strong Passwords: Always use strong, unique passwords for all user accounts.
- Two-Factor Authentication: Enable two-factor authentication whenever possible.
- Regular Updates: Keep your Raspberry Pi's software updated to patch security vulnerabilities.
- Firewall: Consider using a firewall on your Raspberry Pi to control incoming and outgoing traffic.
- VPN or Cloudflare Tunnel: Prefer secure connections (VPN or Cloudflare) to open SSH or VNC ports to the open internet.
Note: Always change the default password for the 'pi' user on your Raspberry Pi as soon as you set it up. Default passwords are a significant security risk.
Step-by-Step Guide to Remote Access with Cloudflare Tunnel
Lets dive into a detailed guide to using Cloudflare Tunnel, a powerful option for remote access that simplifies the process and enhances security:
- Set up your Cloudflare account: If you dont have one, sign up for a Cloudflare account. Cloudflare offers a free plan that is sufficient for most Raspberry Pi projects.
- Install cloudflared: Connect to your Raspberry Pi via SSH. Install the Cloudflare Tunnel daemon. The method of installation depends on your operating system. On Debian/Ubuntu, you can typically install it using the package manager:
sudo apt install cloudflared - Authenticate cloudflared: Authenticate your Pi with your Cloudflare account to establish a secure connection:
- Run
cloudflared tunnel loginon your Raspberry Pi. - A URL will be generated. Open this URL in your browser and log in with your Cloudflare account. This will authenticate your Raspberry Pi.
- After successful authentication, you can close the browser window.
- Run
- Create a Tunnel: Create a Cloudflare Tunnel to connect to your Raspberry Pi. Choose a descriptive name for the tunnel.
- To create a tunnel, use the following command:
cloudflared tunnel create [tunnel-name] - Replace
[tunnel-name]with your preferred tunnel name.
- To create a tunnel, use the following command:
- Configure the Tunnel: Configure the tunnel to route traffic to your Raspberry Pi. This involves creating a configuration file.
- The configuration file is usually located at
/etc/cloudflared/config.yml. If the file doesnt exist, create it. - Edit the configuration file and specify the tunnel ID and the service you want to expose. For instance, to expose SSH on port 22:
tunnel: [tunnel-uuid] credentials-file: /root/.cloudflared/[tunnel-uuid].json ingress: - hostname: ssh.yourdomain.com service: ssh://localhost:22 - service: http_status_code:404
- Replace [tunnel-uuid] with your tunnel UUID. Use your domain name to connect.
- The configuration file is usually located at
- Start the Tunnel: Start the Cloudflare Tunnel.
- Use the command
cloudflared tunnel run [tunnel-name]to start the tunnel. - Replace
[tunnel-name]with your tunnels name. This command starts the tunnel and keeps it running in the background.
- Use the command
- Access your Pi: Access your Raspberry Pi remotely using SSH. Use your domain to connect.
- Use SSH client (PuTTY, for example) to connect. Use the domain as the hostname and port 22.
Beyond the Basics
Once you have established a basic remote access setup, you can explore more advanced techniques to enhance your experience.
- Dynamic DNS: If your ISP provides a dynamic IP address, use a dynamic DNS service to associate your domain name with your changing IP address. This allows you to access your Pi using a static domain name, even if your IP address changes.
- Reverse Proxy (Nginx, etc.): Set up a reverse proxy (like Nginx) on your Pi to manage traffic, enhance security, and enable features like SSL/TLS encryption. This is especially useful if you're running multiple web services on your Pi.
- Automated Backups: Implement automated backup solutions to protect your data. You can back up your files to an external drive, a cloud storage service, or another networked device.
- Security Audits: Regularly review your security configuration and conduct security audits to identify and address potential vulnerabilities.
- Network Booting: Set up network booting to reduce reliance on SD cards, which can be prone to corruption. Network booting allows your Raspberry Pi to boot from a network server.
The Hardware
Creating a Network Attached Storage (NAS) server on a Raspberry Pi is a popular and effective way to share files. You can extend this to access from outside your local network.
- Hardware Components:
- Raspberry Pi (3B+ or 4): The heart of your NAS.
- External Hard Drive (preferably SSD): For storage. An SSD provides faster read/write speeds compared to a traditional HDD.
- Power Supply: A reliable power supply for your Raspberry Pi and external hard drive.
- Software Components:
- Operating System: Install a lightweight operating system, such as Raspberry Pi OS Lite.
- File Sharing Software: Install Samba for file sharing.
- Step-by-step setup:
- Flash the OS to an SD card.
- Insert the SD card and power on the Pi.
- Configure the OS.
- Update the system.
- Connect and format the external hard drive.
- Install Samba.
- Configure Samba for file sharing.
- Set up remote access (SSH, Cloudflare Tunnel, or VPN).
- Access and use the NAS from anywhere in the world.
By following the above steps, you can establish secure remote access to your Raspberry Pi, making your projects accessible from anywhere and unlocking its full potential.


